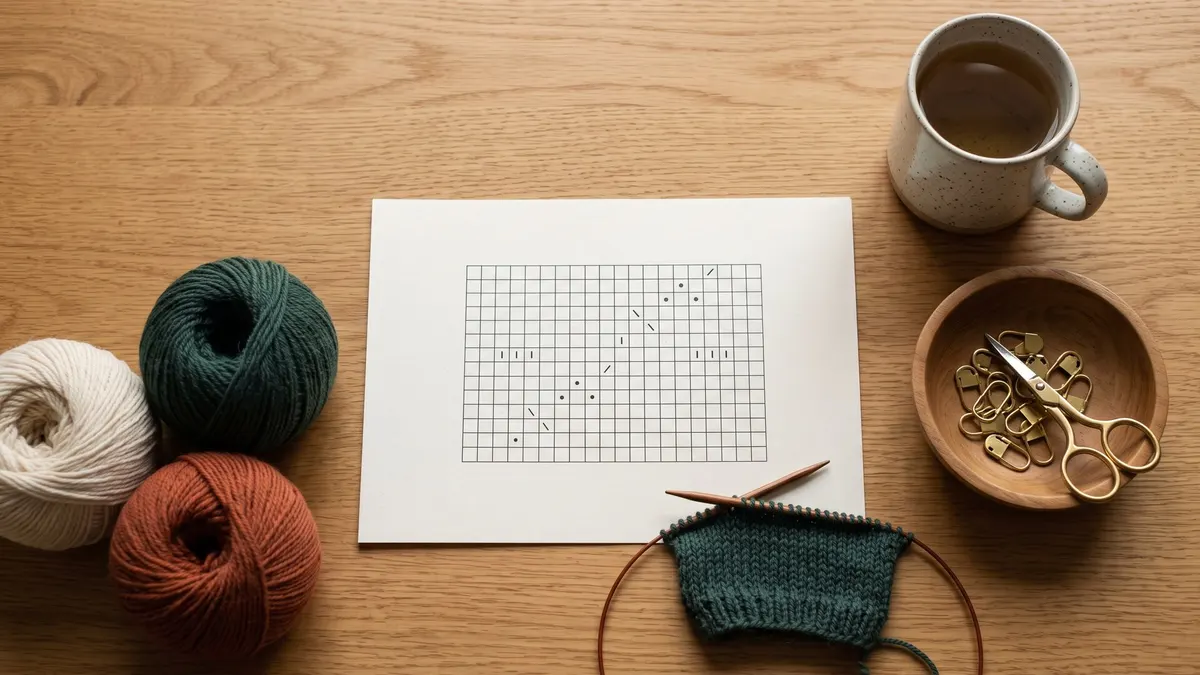
A knitting pattern is a step-by-step recipe written in shorthand: abbreviations (like k for knit and p for purl), numbers for each size, and sometimes a chart. Read it through once before you start, highlight the numbers for your size, check your gauge, and then work it section by section.
A Norwegian version of this page is available on Strikketips.no
The parts of a knitting pattern
The sections a garment pattern usually has, and what to do with each:
-
Sizes and finished measurements
The sizes the pattern is written for, and the garment's finished measurements in each — chest, length, sleeve. Choose your size from the finished measurements and the ease you want; how to knit a sweater walks through it.
-
Yarn and materials
The designer's yarn, its weight and yardage, and how much each size needs. If you substitute, compare yardage — the yarn substitution calculator works out the new number of skeins.
-
Needles and notions
The needle sizes used — for example US 43.5 mm for ribbing and US 64 mm for the body — plus markers, holders and the like. The sizes are a starting point: the needle that gives you the pattern's gauge is the right one.
-
Gauge (called "tension" in UK patterns)
Stitches (and usually rows) per 4 in10 cm in a named stitch, for example 22 sts and 28 rows = 4 in10 cm in stockinette stitch. Every stitch count in the pattern rests on it.
-
Instructions
The pattern itself, split into sections like Body, Sleeves, Yoke and Finishing, often followed by charts and an abbreviation list.
Numbers in parentheses: finding your size
A pattern written for several sizes gives every number for all of them at once:
CO 80 (88) 96 (104) sts.
The sizes are listed in the same order at the top of the pattern — here, the first number (80) is the smallest size, the second (88) the next, and so on. Find your position once and read that position every time.
Tip: go through the pattern with a highlighter before you start and mark every number for your size. It is easy to slip into a neighboring column halfway through a row.
Asterisks, brackets and repeats
-
Asterisks *…*
Mark a sequence to repeat across the row or round.
K2, *p1, k3*, repeat from * to * to end.
Knit 2, then purl 1, knit 3, over and over until the end of the row.
-
Brackets or parentheses with a count
A group worked a set number of times.
[K1, p1] 5 times, k10.
Knit 1, purl 1, five times in all — that uses 10 stitches — then knit the next 10.
A pattern repeat also tells you which stitch counts will work: a repeat over 4 stitches usually needs a multiple of 4, plus any edge stitches outside the asterisks — the "K2, *p1, k3*" example above needs a multiple of 4 plus 2.
"At the same time"
These three words mean two sets of instructions run in parallel — for example, starting the neckline shaping while you are still working the armhole shaping. They are easy to read past. Reading the whole pattern before you start is how you catch them; a note of the row where the second set begins is how you don't lose them.
How to read a knitting chart
Lace, colorwork and texture patterns are often given as a chart: a grid that shows the knitting as seen from the right side.
- Each square is one stitch. Each row of squares is one row or round.
- Start at the bottom. Row 1 is the lowest row; work upward.
- In the round: read every row from right to left.
- Flat: read right-side rows (usually the odd numbers) from right to left, and wrong-side rows from left to right.
- Check the legend. Symbols are not universal. An empty square often means knit on the right side and purl on the wrong side — but your pattern's key decides.
Because the chart shows the right side, knit and purl swap on wrong-side rows: an empty square that is knit from the right side is purled on a wrong-side row — that is what the legend's "knit on RS, purl on WS" means. Other symbols have their own wrong-side instruction in the legend.
Abbreviations
These are the ones you'll meet first:
| Abbreviation | Meaning |
|---|---|
| k / p | Knit / purl |
| st(s) | Stitch(es) |
| CO / BO | Cast on / bind off |
| RS / WS | Right side / wrong side |
| k2tog | Knit 2 together — a right-slanting decrease |
| ssk | Slip, slip, knit the two together through the back loop — a left-slanting decrease |
| yo | Yarn over — an increase that leaves a small hole |
| rep | Repeat |
The rest — every increase and decrease, and the terms that mean different things in US and UK patterns — is in our knitting abbreviations and US/UK glossary. The pattern's own abbreviation list always comes first: if the designer defines a term differently, the designer is right for that pattern.
Before you cast on
-
Read it all once
Start to finish, so you know the construction and see every "at the same time" before you reach it.
-
Mark your size
Highlight every number that belongs to your size.
-
Swatch
Knit, wash and measure a swatch, and change needles until you match the pattern's gauge — how to knit a gauge swatch.
-
Keep count
Shaping every 4th row is easy to lose track of. A row counter does the remembering.
Frequently Asked Questions
What do the numbers in parentheses mean, e.g. '10 (12) 14 sts'?
Each number belongs to one size, in the order the sizes are listed at the top of the pattern — usually smallest to largest. Find the position of your size once, and read that position every time. Highlighting your numbers before you start helps.
What does 'repeat from * to *' mean?
Repeat the stitches between the asterisks. '*K1, P1*, repeat from * to * to end' means knit 1, purl 1, and keep repeating that pair to the end of the row or round.
Which way do I read a knitting chart?
From the bottom up, starting at row 1. In the round, read every row from right to left. Flat, read right-side rows from right to left and wrong-side rows from left to right. Each square is one stitch.
What does 'at the same time' mean in a knitting pattern?
That two sets of instructions run in parallel — for example neckline shaping that starts while the armhole shaping is still going on. Read ahead so you know when the second one begins.
What should I do if I don't understand an abbreviation?
Check the pattern's own abbreviation list first — the designer's definition always wins over a general reference. If it isn't there, look it up in our knitting abbreviations glossary or the knitting dictionary.