
Knitting socks might seem daunting at first when you read jargon like "heel flap", "short rows", and "gusset decreases". But fear not – as soon as you understand the construction of a knitted sock, it will quickly become one of your favorite projects!
A Norwegian version of this page is available on Strikketips.no
How a traditional sock is constructed
The vast majority of traditional sock patterns are knitted from the top down to the toe. This is called a top-down sock, and it's built from the following parts:
-
Cuff and Leg
The sock starts with elastic ribbing (often k1, p1 or k2, p2) so it sits snugly on the calf. Then the leg is knitted down to the ankle. You can knit stockinette, stripes, or textured patterns here.
-
The Heel Flap
Here's where the magic begins! Instead of knitting in the round, you set half of the stitches aside (on a stitch holder). Now you knit back and forth over the other half of the stitches to create the heel flap. For a durable heel, we recommend a reinforced heel stitch: on the right side, slip 1 stitch with yarn in back, knit 1, and repeat to the end; on the wrong side, purl all stitches. Repeat this until the heel flap is square (usually the same number of rows as you have heel stitches, about 24–28 rows).
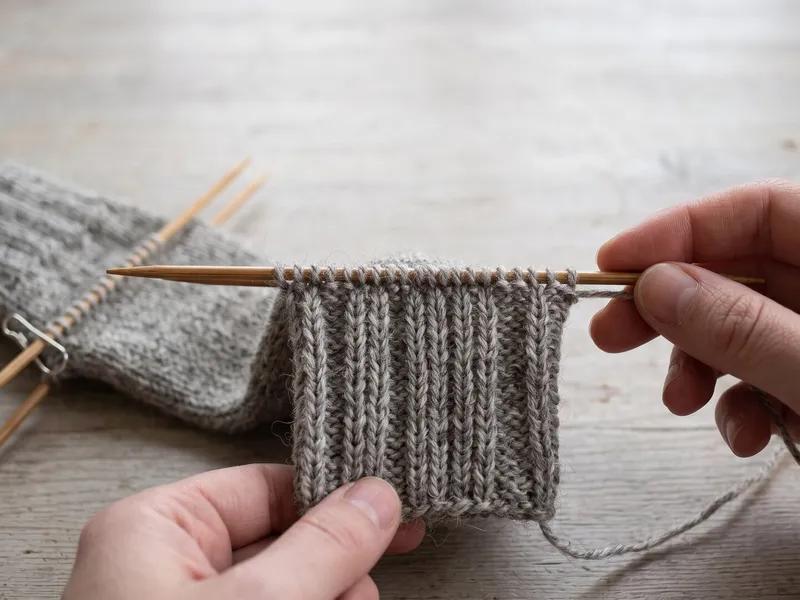
The heel flap is worked back and forth in a reinforced slip-stitch rib on half of the total stitches. -
Turning the Heel
Once the heel flap is complete, you knit short rows to round off the bottom of the heel so it cups the foot, a process known as turning the heel. Knit past the center marker on the right side, knit 1, make a decrease (e.g., ssk or k2tog), knit 1, and turn. Slip 1 stitch, purl past the center point, purl 1, purl 2 together, purl 1, and turn. Repeat this sequence, working up to the gap created by the previous turn and decreasing the stitches on either side of the gap, until all side stitches are worked.
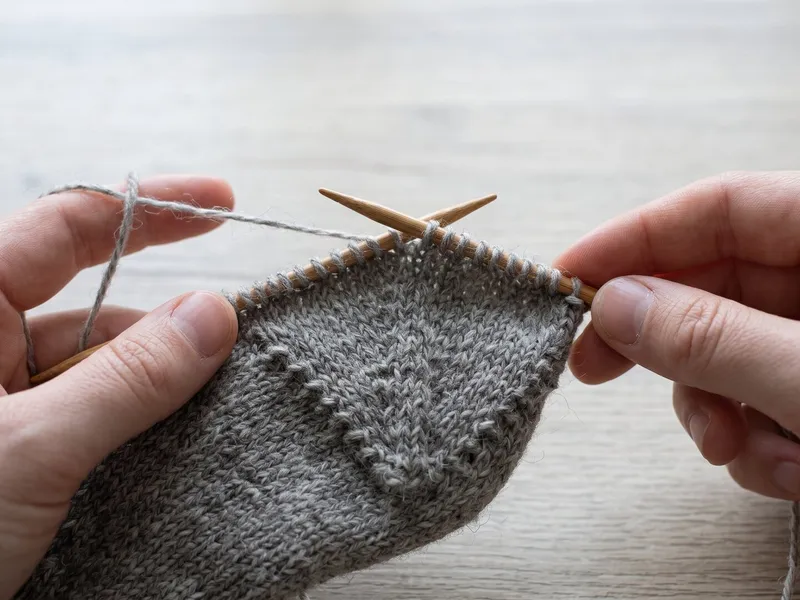
Short-row decreases shape the curved heel cup underneath the foot. -
The Gusset
After turning the heel, you must pick up new stitches along both sides of the heel flap (typically 12–15 stitches per side, plus an extra stitch in the corners to prevent holes). Then resume knitting in the round. Since you have picked up extra stitches, you must gradually make decreases ("gusset decreases") on each side of the sole on every other round, until you are back to your original cast-on stitch count. If you are unsure about the stitch maths, our knitting calculators will do it for you.
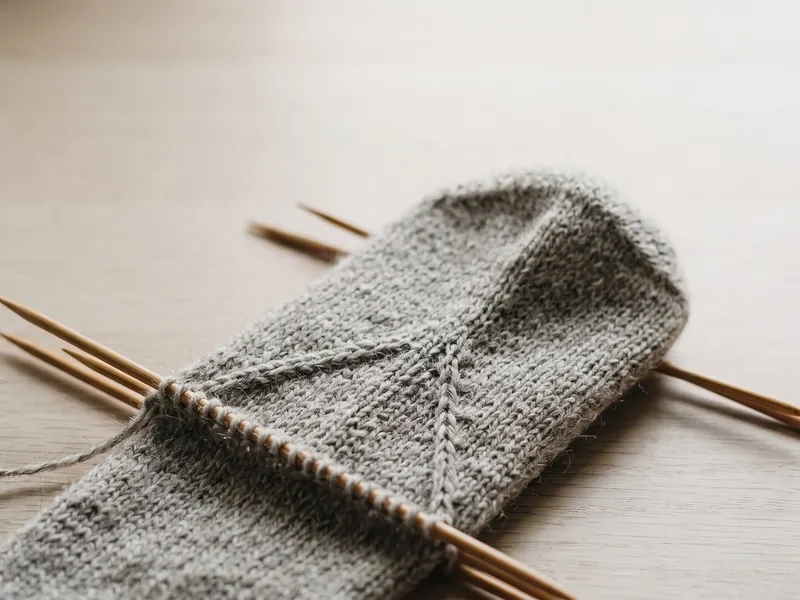
Gradual gusset decreases on either side of the instep return the sock to its original circumference. -
The Foot and Toe
Knit the foot in the round until you approach the little toe. Then you start the toe decreases, and finally, close the hole at the tip using the Kitchener stitch or italian bind-off for a completely flat and invisible seam.
You can also knit socks the opposite way: from the toe up. The advantage of toe-up is that you can try the sock on while you knit the foot, and you can use up all the yarn you have on the leg without worrying about the foot being too short!
What you need
Before you begin knitting socks, make sure you have the following tools and materials ready:
DPNs vs. Magic Loop
Most people learned in childhood that socks must be knitted on five double-pointed needles (DPNs). This works excellently; the shape becomes square and logical. But in recent years, the Magic Loop technique has completely taken over. By using a single long and flexible circular needle (approx. 32-40 inches / 80-100 cm), you can whip out the sock quickly and smoothly, and many even knit two socks at a time (TAAT) on the same needle to avoid "second sock syndrome"!
Frequently asked questions
What yarn is best for socks?
Always use dedicated sock yarn because it usually contains reinforcement, such as 20% nylon or polyamide. Pure non-reinforced wool will quickly wear out on the heel or bottom of the foot.
What is the Magic Loop technique?
Magic Loop is a technique for knitting small circumferences (like socks) using one long circular needle instead of Double Pointed Needles (DPNs). Many find this faster and the transitions between needles smoother.