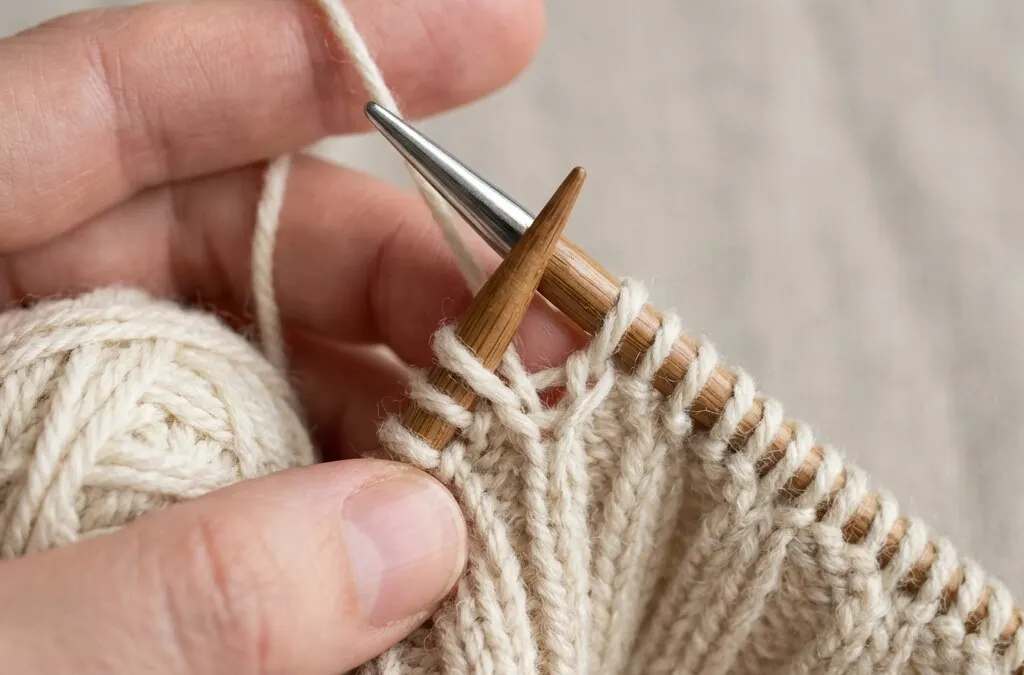
The Italian bind-off, commonly referred to as tubular bind-off or invisible bind-off, is hands down the neatest and most elastic way to bind off a ribbed edge. This technique preserves the natural stretch of a classic 1×1 ribbing, resulting in a beautiful, rounded, and soft edge that looks like the stitches flow continuously over to the other side.
Whether you are a beginner looking to learn the technique for the first time, or an experienced knitter wanting a quick refresher – this guide provides you with everything you need to achieve a flawless finish every time you bind off a neckline, cuff, or hat brim.
When is the Italian bind-off used?
- Necklines – provides optimal stretch to be pulled over the head
- Cuffs and sleeve edges – fits neatly without pinching or tight lines
- Hat brims – stretchy and comfortable against the skin
- Socks and waistbands – holds its shape without digging in
A Norwegian version of this page is available on Strikketips.no
What you need
This technique requires minimal extra tools – you likely have everything at home already.
Watch how to do the Italian bind-off (video)
It is often much easier to learn the Italian bind-off by seeing the technique performed in practice.
Step-by-step guide to the Italian bind-off
Knit stitch: Knit OFF
Insert tapestry needle knitwise (front to back) through first knit stitch, pull yarn through and drop off needle.
Purl stitch: Purl ON
Insert needle purlwise (back to front) through next purl stitch, pull yarn through, and leave stitch on needle.
Purl stitch: Purl OFF
Insert needle purlwise through the previous purl stitch, draw yarn through and drop it off the needle.
Knit stitch: Knit ON
Insert needle knitwise through next knit stitch, draw yarn through, and leave stitch on needle for next repeat.
The Italian bind-off follows a 4-beat rhythm where each stitch is worked twice with the tapestry needle before being slipped off the needle.
Setup rows (preparation)
To give the edge its characteristic, rounded, and full appearance, you should always start with setup rows.
- Round/Row 1: Knit 1, slip 1 purlwise with yarn in front. Repeat to the end of the round/row.
- Round/Row 2: Repeat the instruction exactly the same way once more.
These two rows shape the small "tube" that gives the edge its rounded, tubular shape. Without them, the cast-off edge will look flat.
Cut yarn and prepare the needle
Cut the yarn tail so it is 3–4 times longer than the edge to be bound off. If you are unsure, err on the side of caution and cut it a bit longer – it's easy to weave in excess yarn, but very frustrating to run out.
Thread the yarn tail through your tapestry needle. You are now ready to begin the sewn bind-off.
Needle bind-off – the rhythm
Use a blunt tapestry needle and follow this rhythm. Note that the needle always enters opposite to the stitch type: purlwise into a knit stitch, knitwise into a purl stitch. That is what makes the edge roll into a tube.
Repeat until all stitches are bound off
Continue the rhythm from step 3 until all stitches are bound off. Keep a steady, gentle tension on the thread – the goal is for the bind-off row to have the same elasticity as the rest of the ribbing.
Finally, weave in the yarn end securely on the wrong side of the work in a small zigzag pattern under the stitch loops (approx. 2 in / 5 cm).
Italian bind-off on 1x1 and 2x2 ribbing
The sewing rhythm of the Italian bind-off assumes that knit and purl stitches alternate one by one, as they do in 1x1 ribbing (1 knit, 1 purl). There, you can follow the guide above directly. If you are working 2x2 ribbing (2 knit, 2 purl), the stitches must be rearranged before binding off.
How to rearrange 2x2 into 1x1
- Work until the final row/round before the bind-off. The rearrangement replaces a normal row.
- In each repeat (2 knit, 2 purl): leave the first knit stitch in place, and swap the second knit stitch with the first purl stitch. Slip both off the needle, cross them without twisting – the purl stitch should now come first – and place them back.
- After the swap, the stitches alternate knit, purl, knit, purl across the entire row. Work the two setup rows from step 1, then bind off exactly as for 1x1 ribbing.
The swap is invisible in the finished edge: the tube rolls over the rearranged row, and the result looks like a seamless continuation of the 2x2 pattern.
Italian bind-off in the round
The Italian bind-off is actually easiest in the round: there are no edge stitches, and the tube stays perfectly even all the way around. Work the two setup rounds in the round exactly as described in step 1, and start sewing at the beginning of the round – preferably with a knit stitch as the first stitch.
The only point that needs a little care is the join where the bind-off ends: once you have bound off all stitches and are back at the start, sew through the first two stitches one more time before weaving in the tail. This closes the tube without a visible notch, making it impossible to see where the round began.
The technique is perfect for cowls knitted in the round and hat brims – and if you need to calculate the stitch count for a hat first, our hat guide shows the math step by step.
Frequently asked questions about the Italian bind-off
How to bind off ribbing neatly with the Italian bind-off?
The Italian bind-off is without a doubt the neatest way to bind off ribbing. The result is an invisible edge where the stitches seem to flow continuously over to the other side, providing a highly professional and finished appearance.
How much yarn do I need for the Italian bind-off?
You should cut the yarn tail so it is approximately 3 to 4 times the length of the edge you are binding off. It is always better to have a bit too much yarn than too little, especially in the middle of a bind-off.
Can I use the Italian bind-off on 2x2 ribbing?
Yes, but it requires a small adjustment first. Since the sewn Italian bind-off is originally designed for 1x1 ribbing (1 knit, 1 purl), you must rearrange your stitches so they lie in a 1 knit, 1 purl sequence before you can complete the bind-off. This is most commonly done on the last row/round before the bind-off – see the 2x2 ribbing section in the guide above.
Is the Italian bind-off stretchy?
Yes, it is widely considered one of the most elastic bind-off methods available. It does not pinch or restrict, making it completely ideal for necklines, cuffs, and hat brims that need to stretch well.
Are the Italian bind-off and tubular bind-off the same?
The terms are often used interchangeably. Tubular bind-off refers specifically to the fact that the edge becomes double (like a tube) through the setup rows. Some do a tubular bind-off without a needle, while the Italian bind-off is typically sewn with a needle. The end result (an invisible, elastic edge) is virtually identical.
Can I use the Italian bind-off on circular needles?
Absolutely – and it's actually easiest on circular needles! Follow the exact same procedure as on straight needles. Since you are knitting in the round, remember to start and end the bind-off at the correct point to avoid an awkward join.
Does the Italian bind-off work on wider ribbing like 3x3?
In principle, all ribbing must be rearranged into 1x1 before an Italian bind-off. On 2x2 the rearrangement is simple and nearly invisible, but on 3x3 and wider ribbing the stitch shuffling becomes so extensive that a stretchy knitted bind-off often gives a neater result.
Which bind-off is best for necklines?
The Italian bind-off is the first choice for ribbed necklines: the edge can be stretched over the head again and again without losing its shape, and it never feels tight against the neck. Just remember to measure out enough yarn (3–4 times the edge length) before you start.
This is the same tubular bind-off documented in Ysolda’s tutorial. Note that we describe the single-needle form, with the stitches left on one needle; Ysolda shows the same bind-off divided onto two needles and grafted as Kitchener stitch. The result is the same — the order of needle insertions reads differently because the starting position is different.