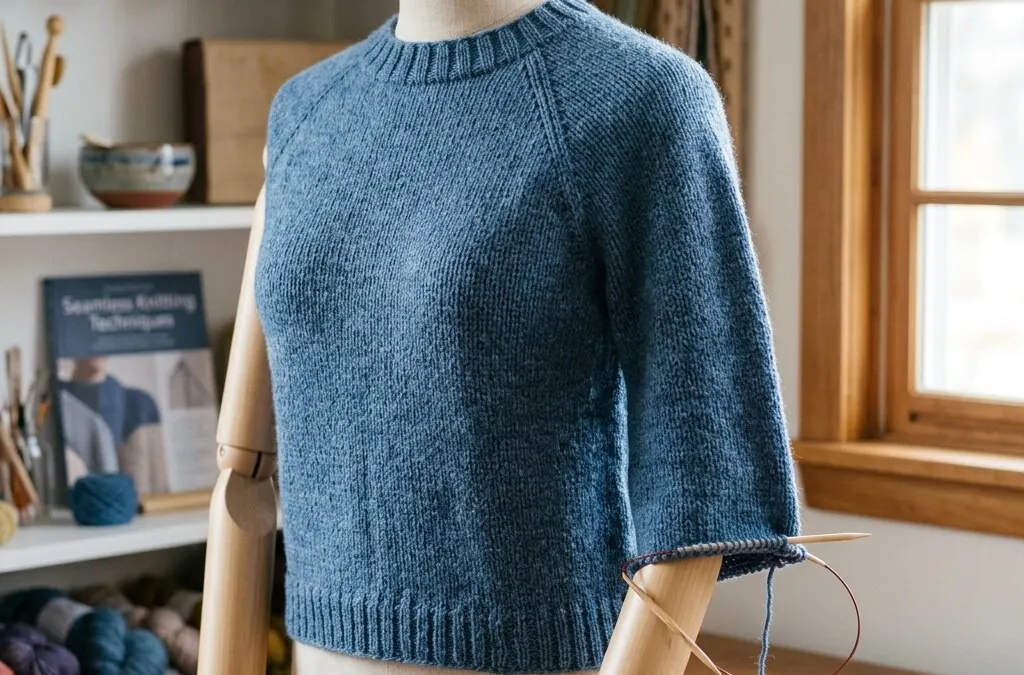
The contiguous method, developed by Susie Myers, is a brilliant technique for knitting top-down sweaters with a shoulder construction that looks like it's sewn in – without having to sew a single seam.
Source: Ravelry — Contiguous by Susie Myers. She describes the method herself as a way of knitting the shoulder seams and sleeve caps from the top down in one continuous row from the start; first published March 2013.
Instead of traditional raglan, where you increase evenly on all four marker points, the contiguous method uses two separate increase phases: first a horizontal shoulder increase, and then a vertical sleeve cap increase. The result is a naturally sloping shoulder line and a shaped sleeve cap reminiscent of set-in sleeves.
The contiguous method works especially well for:
- Fitted sweaters – where the fit around the shoulders is critical
- Classic pullovers – with a clean, horizontal shoulder line
- Garments for narrower shoulders – avoiding the bulk or boxy look of raglan
- Anyone who wants to avoid seams – knitted entirely in one piece top-down
A Norwegian version of this page is available on Strikketips.no
What you need
The contiguous method doesn't require a lot of extra equipment, but a few tools are essential for keeping track of the different increase phases.
Which construction method is right for you?
Top-down sweaters can be constructed in several ways. Here is a comparison of the three most common methods:
| Method | Shoulder line | Strengths | Things to consider |
|---|---|---|---|
| Raglan | Distinct diagonal from neck to sleeve | Easy to calculate, great for loose-fitting garments, beginner-friendly | Limited shoulder shaping |
| Contiguous This guide | Horizontal shoulder line with a shaped sleeve cap | Fully seamless, professional fit, natural shoulder line | Requires more attention while knitting |
| Set-in sleeves | Rounded, tailored sleeve cap | Optimal custom fit, classic tailored look | Body and sleeves are knit separately and seamed together |
See the contiguous method in action (video)
It is often much easier to learn the technique by seeing it performed in practice.
Step-by-step guide to the contiguous method
Shoulder Seam (Shoulder Width)
Increases are worked on the OUTSIDE of markers (into front and back) on every round/row. The shoulder stitches between markers remain constant (typically 2–4 sts), creating a straight shoulder line.
Sleeve Cap Shaping
Increases shift to the INSIDE of markers (into the sleeve stitches). This shapes a smooth, curved sleeve cap that mirrors a tailored set-in sleeve seamlessly from above.
Armhole & Division
Simultaneous body and sleeve increases finish the underarm curve. Sleeve stitches are placed on waste yarn, underarm stitches cast on, and the body joined in the round.
The contiguous method builds the shoulder line, sleeve cap and armhole seamlessly across three phases, driven by directional M1L/M1R increases on either side of the markers.
- 01
Shoulder Increases (Phase 1)
You increase on the outside of the shoulder markers on every round until the desired shoulder width is reached. This creates the horizontal line that looks like a shoulder seam. Make sure to measure as you knit against a well-fitting garment!
- Place two markers (color A) between the shoulder and sleeve stitches.
- Increase using M1L and M1R on every round – one on the outside of each shoulder marker.
- Measure the shoulder width regularly. Stop once you reach the target measurement.
- 02
Sleeve Cap (Phase 2)
Once the shoulders are wide enough, the increase pattern changes. Now you increase on the inside of the markers, typically every other round. This creates the actual sleeve cap, which grows down the arm and shapes itself naturally over the shoulder.
- Place two new markers (color B) on the inside of the sleeve stitches.
- Increase M1L and M1R on the inside of each marker, every other round.
- Continue until the sleeve cap is deep enough for comfortable arm movement.
Some patterns combine phase 2 with a few raglan-like rounds towards the end to add extra width under the arm.
- 03
Armholes and separating
When the sleeve cap is deep enough, the yoke is completed. Many patterns add a few extra rounds where increases are worked on both the body and sleeves to ensure a comfortable fit under the arm. Then, underarm stitches are cast on, and the work is separated into the body and sleeves.
- Place the sleeve stitches on waste yarn or stitch holders.
- Cast on new stitches under the arm (cast on) to connect the front and back of the body.
- Knit the body stitches and continue working in the round – the body is now ready!
- Return to the sleeve stitches and work the sleeves separately down to the cuffs.
Tips for smooth transitions and neat stitch pickup
The underarm transition is often where a contiguous sweater can look a bit messy. These techniques will make the transition as seamless as promised:
Common mistakes – and how to avoid them
Solution: Measure the shoulder width against a sweater you know fits, before switching to phase 2.
Solution: Note down the round number every time you complete an increase round, or use a physical row counter.
Solution: Always knit a swatch and wash it before casting on.
Solution: Write down exactly how many stitches you have increased on each side after each phase, and mark it clearly in your pattern notes.
Frequently asked questions about the contiguous method
Is the contiguous method hard to learn?
The method requires some focus on the first few rounds, but once you understand the logic behind the two increase phases, it is relatively straightforward to knit. Most experienced knitters master it after one or two swatches or test projects.
Can I use the contiguous method on any pattern?
You can adapt many top-down patterns, but it requires a fair amount of calculation if the pattern was originally written for raglan or a round yoke. There are patterns written specifically for the contiguous construction, and those are easiest to start with.
What is the difference between contiguous and raglan?
Raglan increases evenly on all four marker points, creating a distinct diagonal line from neck to sleeve. Contiguous, on the other hand, uses two separate increase phases: first increasing horizontally on the outside of the shoulder markers (phase 1), then increasing on the inside to shape the sleeve cap itself (phase 2). The result looks like a set-in sleeve but is worked in one piece.
How many stitch markers do I need?
You need four stitch markers in total – two for the shoulder increases and two for the sleeve increases. It is highly recommended to use two different colors so you can easily distinguish between the shoulder and sleeve phases when changing the increase pattern.
What do I do if the shoulders become too wide?
Measure the shoulder width along the way against a garment you know fits you. Since you are knitting top-down, you can rip back a few rounds and start phase 2 earlier. This is one of the great advantages of top-down constructions: you can adjust in real-time.
Do I need a gauge swatch for the contiguous method?
Yes, and it is even more important than usual. The contiguous method relies on precise increase frequencies to achieve the correct shoulder width and armhole depth. Even a small deviation in gauge can result in a significantly incorrect fit in the shoulder area.