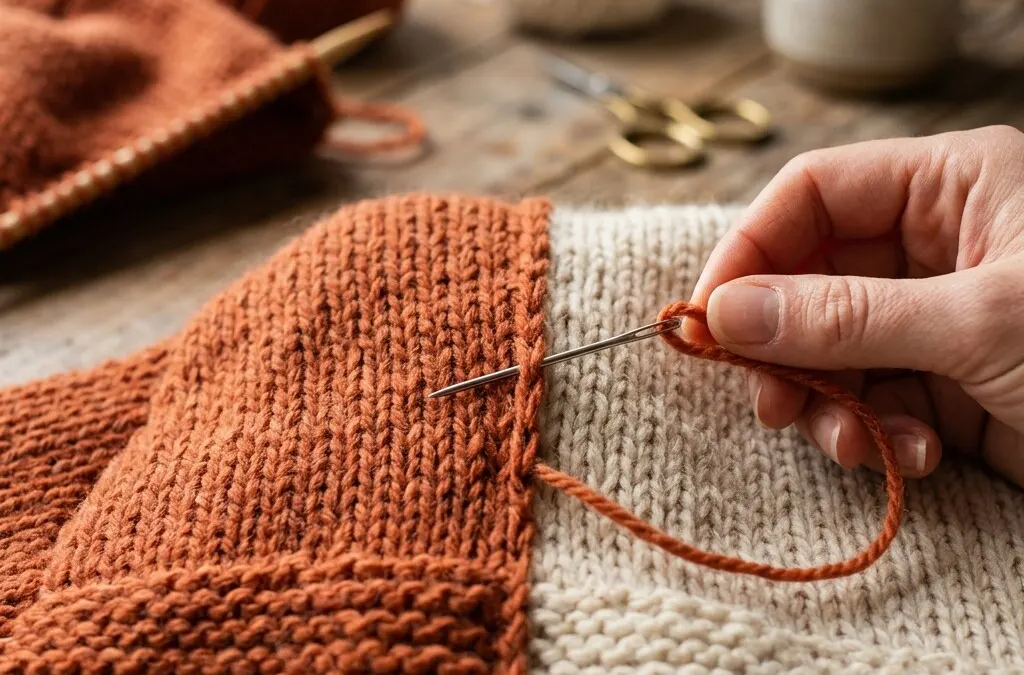
Whether you just noticed an accidental gap while knitting a sweater body, or pulled a favorite pair of wool socks from the drawer to find a worn heel or moth hole, knitted fabric is uniquely repairable. Because knitting is composed of a continuous network of interconnected loops, you can rebuild missing stitches stitch-for-stitch without leaving stiff, bulky patches.
Stop stretching the fabric immediately. As soon as you notice a hole, insert a locking stitch marker or a safety pin into the lowest loose loop. This prevents the stitch from laddering down toward the hem while you prepare your repair tools.
A Norwegian version of this page is available on Strikketips.no
1. Diagnosing the Hole
Before grabbing your needle, inspect the damaged area under bright light to identify what caused the hole:
- Dropped / Laddered Stitch: A loop slipped off the knitting needle and unraveled downward, leaving horizontal rungs above it with intact yarn. (Solution: Re-latch with a crochet hook).
- Accidental Yarn Over: You inadvertently wrapped yarn over the needle on a previous row, creating an unwanted eyelet hole and adding an extra stitch to your total count. (Solution: Drop the extra loop if caught early, or close it from behind).
- Snapped Thread or Moth Damage: The yarn strand has severed completely, leaving broken frayed ends and live loops above and below. (Solution: Swiss darning duplicate stitch).
- Friction / Thinning Wear: The stitches are still continuous, but the wool has worn thin, exposing the structural core. (Solution: Preventative reinforcement duplicate stitch).
2. Holes While Knitting (Ladders & Accidental Yarn Overs)
If the error happened on the needles during an active project, you don't need to rip back (frog) entire rows:
Fixing an Accidental Yarn Over
If you spot an eyelet hole one row below your current needle, simply let the extra yarn over slip off the needle when you reach it. The excess slack will redistribute into the adjacent stitches over a couple of rows. If the hole is several inches down and you cannot unravel, use a small scrap of matching yarn on the wrong side (WS) to weave the hole shut in a figure-eight stitch without altering the front fabric appearance.
Fixing a Dropped Stitch with a Crochet Hook
Insert a crochet hook from front to back through the live dropped loop at the bottom of the ladder. Catch the lowest horizontal ladder rung and pull it through the loop to reform a knit stitch. Repeat up each ladder until you place the stitch back onto your left knitting needle. For full instructions, consult our Dropped Stitch Repair Guide.
3. Swiss Darning (Duplicate Stitch) on Finished Knits
Swiss darning (also called duplicate stitch repair) is the gold standard for repairing holes in finished garments. By tracing the path of the original knit stitches with a blunt tapestry needle, you rebuild the fabric loop by loop.
-
Secure Live Stitches with a Lifeline
Thread a contrasting scrap of smooth dental floss or fingering cotton through any loose loops around the hole so they cannot run while you work.
-
Anchor in Stable Fabric
Insert your tapestry needle from the wrong side to the right side, starting one row below and two stitches to the right of the damaged area into intact, strong stitches.
-
Trace the Knit V Stitches
Bring the needle through the center of the base stitch (between the legs of the V). Pass the needle horizontally behind both legs of the stitch in the row directly above, then re-enter the original base hole. Pull until the duplicate loop matches the surrounding gauge tension.
-
Work Across the Rows
Work horizontally across the row covering broken stitches. At the end of the row, move up to the next row and work in the opposite direction. Continue until the hole is completely reinforced and backed by a new layer of stitches.
-
Lock Tails on the Wrong Side
Turn the work inside out. Weave the starting and ending tails diagonally through the purl bumps across at least 2 inches5 cm of fabric to prevent tension unraveling during washing.
4. Rebuilding Large Holes with Bridge Threads
When a hole is larger than 0.5 inches1.5 cm and several stitches are missing completely, there are no existing threads to duplicate over. You can reconstruct the foundation using bridge scaffolding:
- Pick up the live loops along the bottom edge of the hole onto a small double-pointed needle (DPN) or safety pins.
- Pick up the live loops along the top edge of the hole onto a second needle.
- Using matching yarn, lay horizontal bridge threads across the gap corresponding to each missing row of fabric.
- Work duplicate stitch over these horizontal bridge rungs, building new vertical knit columns between the lower needle and the upper needle.
- Graft the top edge of your newly formed stitches to the top needle using Kitchener stitch for an invisible, seamless repair.
5. Reinforcing High-Wear Friction Zones
The most effective repair is the one done before a hole actually breaks through the yarn:
- Catch Thinning Early: Hold socks up to a light bulb periodically. If you see light shining through the heel or ball of the foot, work duplicate stitch over that area immediately before the primary threads snap.
- Use Nylon Reinforcement Thread: When repairing or knitting sock heels, hold a thin spool of wool/nylon reinforcement thread together with your project yarn. The synthetic filament provides extreme abrasion resistance.
- Avoid Fabric Softener: Chemical fabric softeners coat natural wool fibers, causing them to slip and weaken under mechanical friction. Use a gentle wool detergent with natural lanolin instead.
Frequently Asked Questions
Can I fix a hole in knitting without knowing how to knit?
Yes! Swiss darning (duplicate stitch) is done entirely with a blunt tapestry needle and scrap yarn. You do not need knitting needles—you simply trace the path of the existing knit 'V' shapes in the surrounding fabric.
What yarn should I use to repair the hole?
Ideally, use leftover yarn from the same dye lot the garment was knitted with for an invisible repair. If that is unavailable, select a yarn of identical fiber content and weight (e.g. fingering, DK, worsted) in a closely matched color, or use a deliberate contrasting color for a modern 'visible mending' aesthetic.
What is the difference between darning and duplicate stitch?
Standard woven darning weaves over and under a grid of straight threads, creating a woven patch that does not stretch. Swiss darning (duplicate stitch) actually recreates the interlocking loops of knitwear, preserving the natural stretch and elastic drape of the original fabric.
How do I avoid creating tight puckers where I've repaired?
Maintain identical tension to the surrounding knitted fabric. As you trace each stitch, do not yank the needle tight; allow the duplicate yarn loop to rest gently over the underlying stitch. Stretch the fabric horizontally and vertically after every two rows of repair.
Can I machine wash a garment after repairing a hole?
Hand wash the garment the first time following a repair. This allows you to gently block the repaired area, let the fibers settle and bloom together, and verify that the anchored tail ends remain securely locked before subjecting it to machine agitation.